
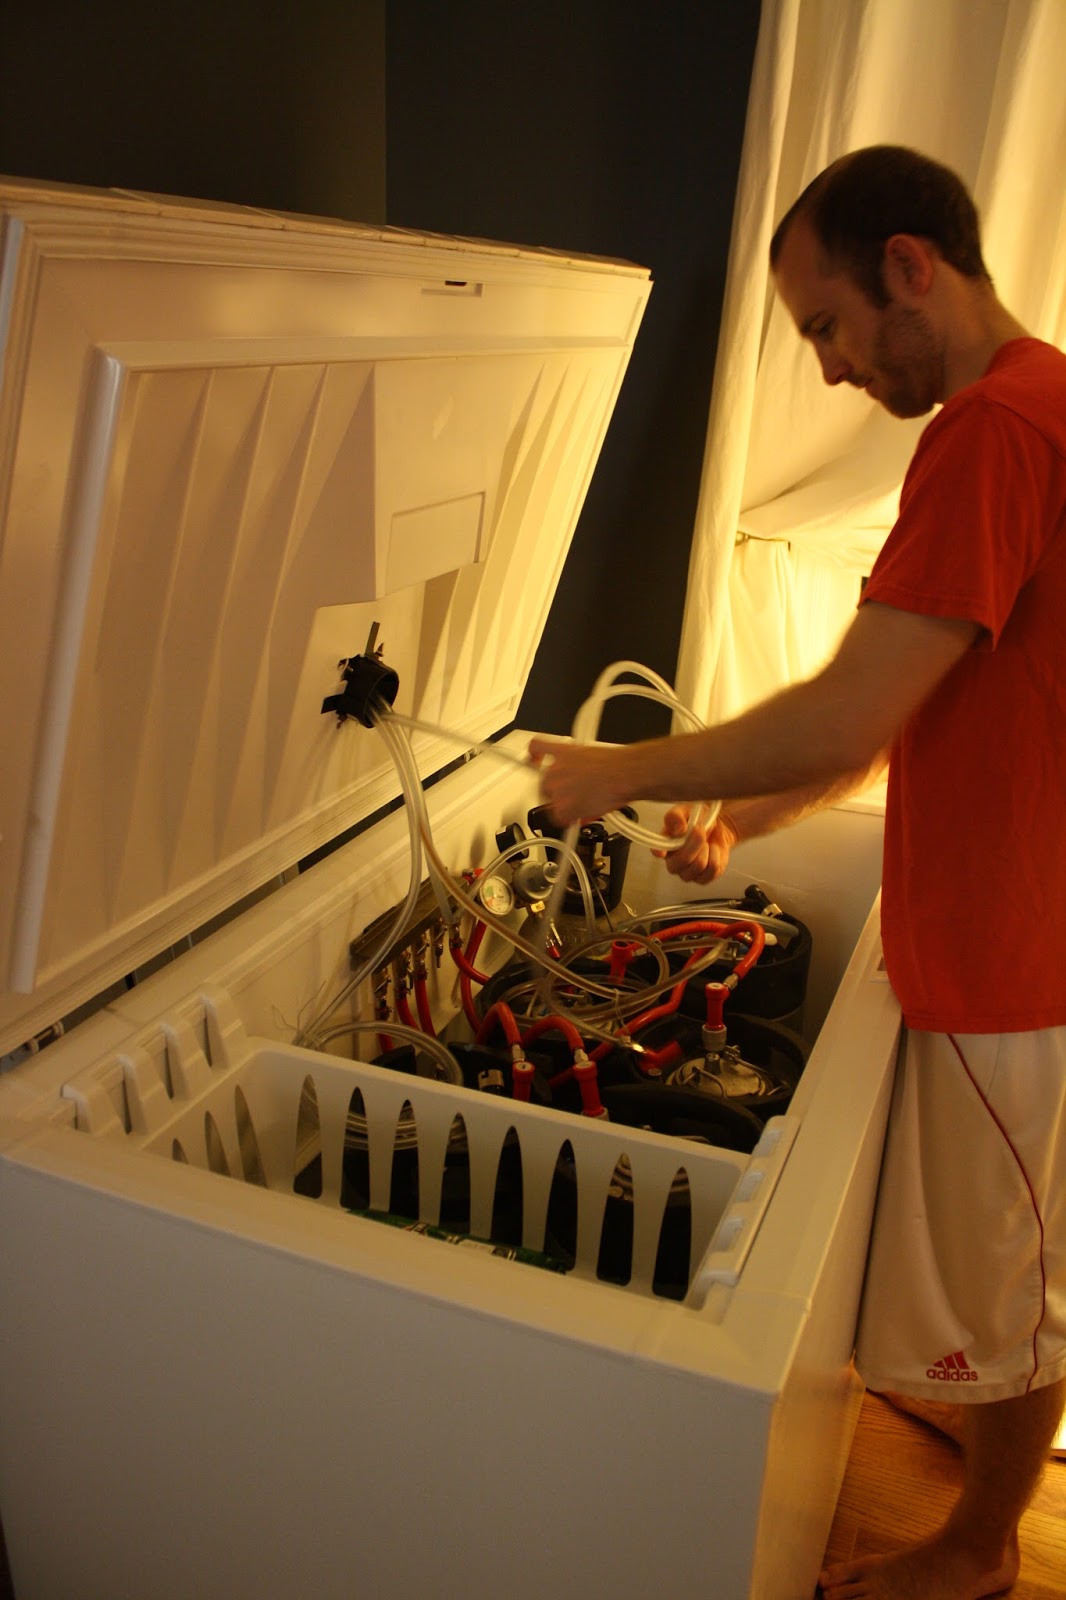
After everything was dry, it was time to finally attach the gas and beer lines. The kegs had been sitting in the kegerator the entire time, so they were cold (and aside from the pale ale which had a leak) were all carbonated. Therefore, as soon as I could hook them up, we would be able to drink from them.
The gas (22 feet) and beverage line (40 ft) that I bought each came as 1 continuous length of tubing. I had taken some measurements from where I thought our 5-port manifold would be mounted and came up with about 1.5’ of tubing for 3 of the gas lines and 2’ for the other 2 gas lines; the extra length would be used to attach the manifold to the CO2 tank. Each beer line would be 8’ in length, with 4 taps, I only technically needed 32 feet of tubing. I wanted an extra beer line in case we ever brought a keg somewhere and needed to set up a picnic tap, I would have enough line to serve it properly. Each tubing was cut and then attached to the correct connector (gas vs beverage) and fitted with a hose clamp to ensure a good seal. I mistakenly bought 1/4” gas-line attachments for the manifold instead of 5/16” attachments. You would think that the 1/16” difference wouldn’t matter that much, but surprisingly it did. Thankfully, with the hose clamps tightly secured, there weren’t any gas leaks coming from the manifold.
Instead of trying to drill into the side of the freezer (and risk damaging something vital behind the wall) I decided to glue 6 magnets to the back of the manifold and mount it to the sides of the chest freezer. I glued a few days in advance and the glue was cured nicely in time to start assembling. Here it is on the outside of the chest freezer to make it a little easier to visualize.

After setting up the gas lines, it was finally time to connect our beer lines. The tubes were simply run up to the tower and attached to the back of the faucets with hose clamps. There is plenty of room in the tower, so the connections with the faucets don’t need to be angled at 90 degrees which made them easy to attach. We wrote with a silver sharpie on the actual connections down below to make it easy to identify which tap line was which for ease when swapping kegs out.


Next was time to mount the faucets. We bought standard chrome-plated faucets (brass underneath) as they are much less expensive than full-on stainless steel faucets (about $25/ea vs $50/ea). They get the job done, but aren’t as nice and tend to drip more than stainless steel Perlick faucets. Over time though, we’ll slowly convert each one to a SS faucet, and maybe even a stout faucet for when we serve stout as the faucets are easy to change out.


After all the lines were set up, we needed to flush the tubing with sanitizer prior to serving any beer through them. I filled a keg with StarSan (a no-rinse sanitizer) and then attached it to the CO2 tank. Each tap was then opened to allow sanitizer to run though the lines and faucet for about 30 seconds. After all the lines were clean, we hooked up the beer and were ready to drink, finally.


No comments:
Post a Comment