Saturday, November 23, 2013

Centennial SMaSH Pale Ale


After buying 16 oz of centennial hops, I thought what better way to get acquainted with the nuances of the flavors and aromas than to brew a SMaSH: Single Malt and Single Hop. By only using 1 hop and 1 malt, you can learn a lot of the flavor profiles of each and surprisingly, most people report a good amount of complexity in the finished product.

I chose to use centennial as we both like that hop (it's featured prominently in many commercial beers like Bell's Two Hearted Ale and Great Divide's Hercules DIPA) and we have plenty to experiment with. For the malt I chose to go with Marris Otter (MO). MO is an English pale malt that is kilned to a slightly darker color than standard American 2-row. The darker color gives it a little more biscuity/toasty flavor than US 2-row and therefore will bring a little more to the table. I was shooting for a ~5.5% beer of the pale-ale persuasion seeing that I brewed a 7.2% beer previously. 

It was a relatively smooth brew day, but this was the first time I've brewed at night. Normally, I get up at the crack of dawn and get  75-80% of the brewing done before anyone in the house wakes up. This time, I waited until just about bed time to mash in, and when the kids were down, was able to start the boil. I did a 60 min mash and a 60 min boil with a 10 min hop stand. 

I'm hoping this one will be a lot better than the last pale ale I made, which is on the verge of being dumped because it's just not tasting right and no one wants to drink it.  I am also starting to think that some of my issues making pale beers are not only from the carmelization from my aluminum kettle, but maybe because I am not using high temperature-rated tubing when I am draining my mash (with +160 degree wort). So maybe, some off flavors are being generated there that are otherwise covered up in darker beers. 

I am going to try and sell my old empty bottles (gotta love Craig's List) and put that money towards the conversion of a 15.5 gal stainless steel keg into a brew kettle. Hopefully, that switch and using different tubing will solve the off flavors I'm getting in these beers. Otherwise, I'm going to have to turn to using different water (like Distilled water) and building back my salts/ions from there with the addition of some acid to make sure my pH is in range. We'll see. 


Recipe (6 gallons):
12 lbs Marris Otter

Mash at 151 for 60 min
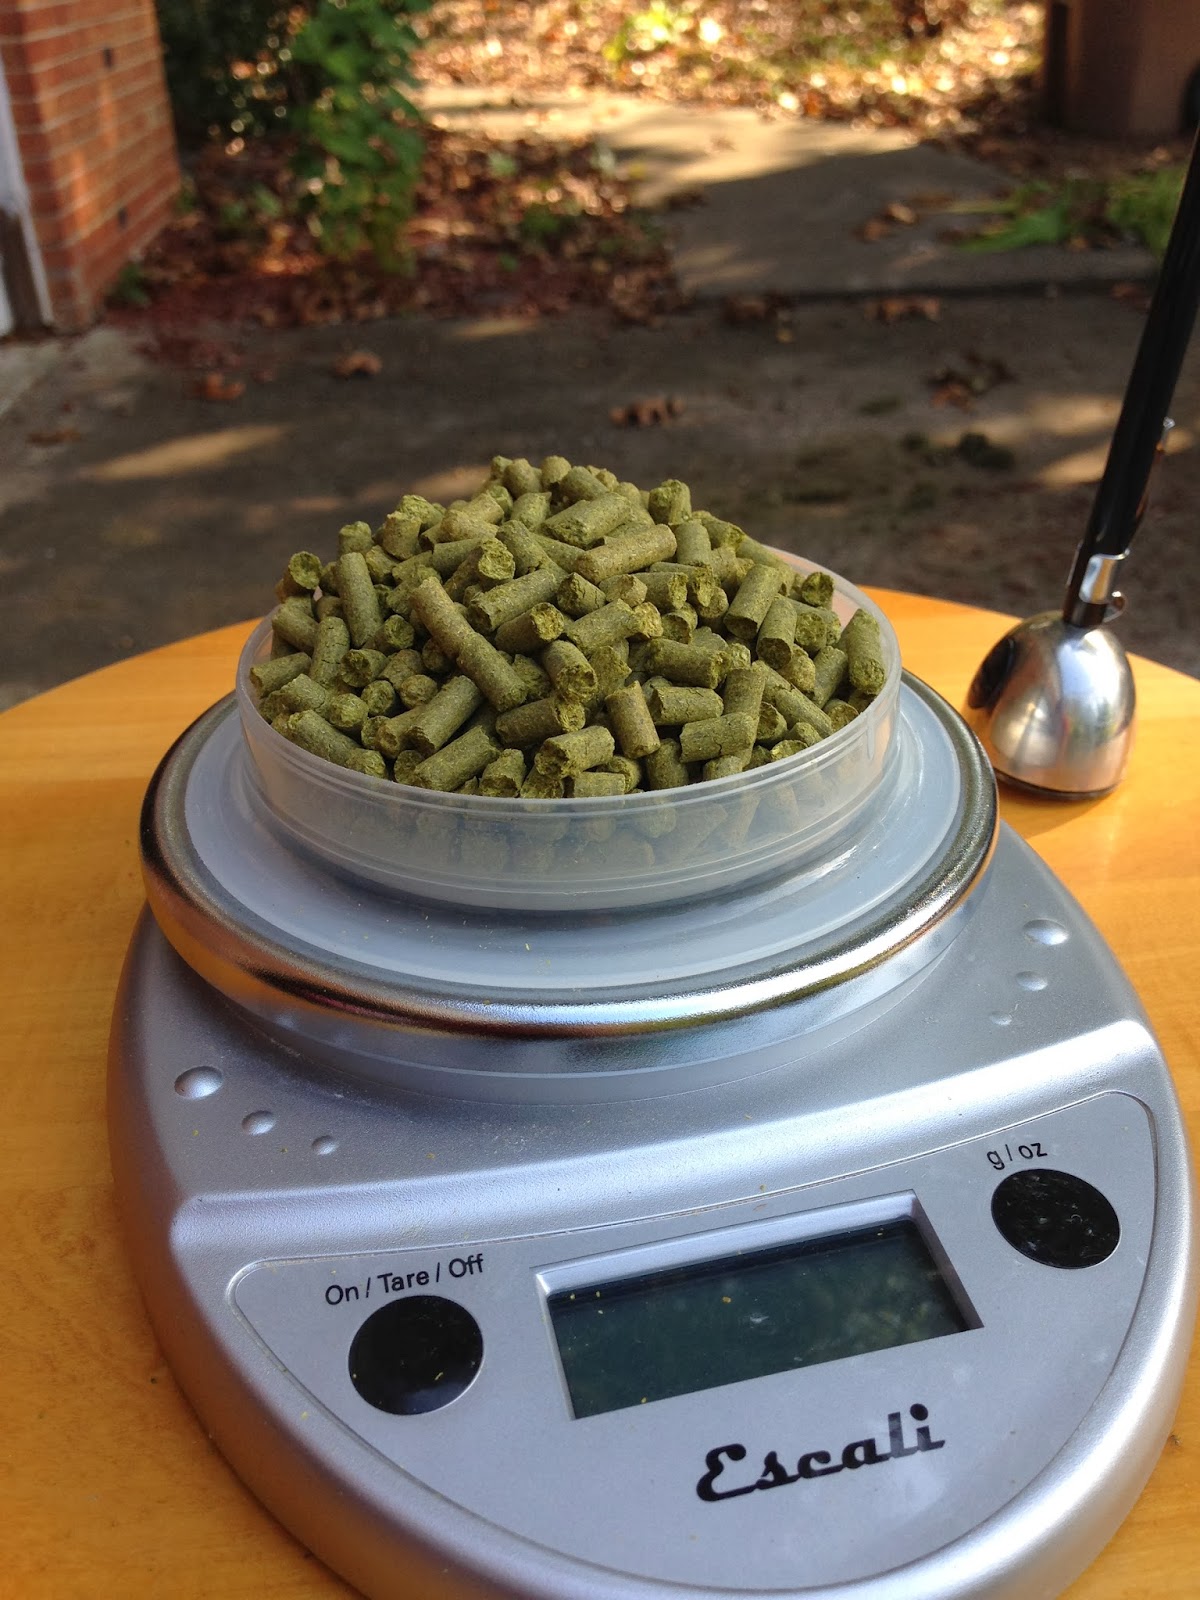
Hops:
1 oz Centennial at 60 min
0.66 oz Centennial at 20 min
1.5 oz Centennial at 0 min
2 oz Centennial (Dry Hop) 
Yeast: WY1272

OG: 1062
FG: 1012
Alcohol: 6.6%

Brewed: 11/17
Cold Crashed: 11/27
Kegged: 11/31

#TeamDietrich


Firestone Walker Union Jack Clone

In our first attempt at brewing a "real" IPA and not skimping on any hops, we decided to do a clone of an excellent IPA we both love. Firestone Walker is known for making suberb beers, and Union Jack is no exception. I found this recipe on a homebrewer's blog (BertusBrewing.com) and decided to give it a shot. Union Jack won gold at the GABG in 2008 and 2009, so I figured if we're anywhere in the ball park, this will be an excellent beer.

Recipe  (6 gallons):
12.5 lbs Pale 2-row
2 lbs Munich
10 oz Carapils
3.5 oz Carastan

Mash at 147 for 60 min

Hops:
1 oz Apollo at 75 min
0.5 oz each Cascade/Centennial/Chinook at 30 min
2 oz each Cascade/Centennial at 0 min

Dry Hop #1: 1.5oz each Cascade/Centennial + 0.5 oz Simcoe (3.5 oz total)
Dry Hop #2: 1 oz each Cascade/Centennial + 0.5 oz each Simcoe/Chinook (3 oz total)

Yeast: WY1272

Brewed: 10/22/13
Dry Hop #1: 10/31
Dry Hop #2: 11/5
Kegged: 11/9

OG: 1064
FG: 1009
Alcohol: 7.2%

                           Photo: 13 oz of hops!                                                Photo: 4 oz of hops at 0 min 


The brewday was a relatively smooth with only a couple of hiccups. I was supposed to boil for 90 min, but forgot that when I was doing the water calculations and only planned for a 60 min boil. I split the difference and did a 75 min boil and ended up with a little less beer, but the IBUs were still about the same. My efficiency was a little lower than expected (70% instead of the normal 75%) so I came in about 6 points under on the gravity. I also did a 10 min whirlpool/hop stand and let the 0 min hops sit for 10 min prior to the start of chilling. A lot of the pro breweries like Stone and Firestone Walker use these rests before chilling to get the most out of their flameout hops, so I am going to start doing this regularly as well. 

This brew also employs a 2 part dry hop which I've never done before. Since there are so many hops, I needed to be extra careful to avoid oxidizing the beer and ruining the hop flavors I worked so hard to get in there. I did the first dry hop in the primary and the transferred to a secondary vessel for the second addition. I did not want to do both additions in the same vessel to avoid the volume of hops in one container. Making this one a 6 gallon batch was also very help as I lost a lot of volume due to hop and yeast sludge in the primary fermenter. The extra volume also allowed me to fill up the secondary vessel all the way to the top to have as little surface area as possible exposed to oxygen. 

This is the first batch I've also used gelatin (or any finning agents for that matter) to clear the beer. I added the gelatin about 36 hours prior to kegging to precipitate as much out of the beer as possible. I am hoping that the beer will be a lot clearer earlier with the help of the gelatin as opposed to clearing up after a few weeks in the keg. 

I'll do a tasting post of this one in a couple of weeks when it's had time to carbonate and stabilize in the keg. Hopefully it will be worth the $55 I spent on ingredients! 


#TeamDietrich 

Sunday, November 10, 2013

Bulk Hops


I finally, finally, got around to buying a food saver mason jar attachment. With the attachment, I am now able to vacuum seal mason jars and store bulk hops.

After we made the Union Jack clone and saw how many hops are actually needed to make good beer, I knew I had to buy in bulk. Otherwise, I would spend a fortune in just hops alone. There are several places online to buy bulk hops from, but I chose to get this round from YakimaValleyHops.com. We don't make too many English or German beers, so I stuck with common American varieties. It was a little hard to choose which hops to get, but I decided on 8 varieties to start with. Most were at least 8 oz, with 2 of the varieties being 4 oz and 2 oz. Most were about $1.25/oz which is about half (if not more) of the cost of buying single ounces of hops at the homebrew stores. Since I want to really start focusing on pale ales and IPAs, I'll be able to use double the hops for roughly the same price as before.

In total, we now have:

16 oz Centennial
8 oz Cascade
8 oz Simcoe
8 oz Citra
8 oz Chinook
8 oz Columbus
4 oz Ahtanum
2 oz Apollo

The first planned brew with the new hops will be a Centennial SMaSH Pale Ale using Marris Otter. SMaSH stands for Single Hop and Single Malt meaning only using 1 hop for the entire beer and only using 1 malt. It's a good way to learn the flavors and aromas from not only the hop, but the malt choice as well. I'm really looking forward to the next few batches and hopefully I'll finally be able to turn out a solid IPA.

#Team Dietrich

Friday, November 8, 2013

Porter Review


When the weather starts getting cooler, I always crave a nice porter. Dark and malty, they pair nicely with a wide array of dishes and as well as great after dinner beers to enjoy slowly. Last year's batch was well received, so rather than reinvent the wheel, I decided to brew it again.

Recipe
7.5 lbs Marris Otter
1.63 lbs Brown Malt
0.5 lbs Black Malt

1 oz Willamette at 60 min
0.5 oz Fuggles at 30 min

Yeast: WY1968 London ESB

OG: 1053
FG: 1019
Alcohol= 4.3%

Brewed 9/9/13
Kegged 10/9/19

As I mentioned in the post about the brew day, I was concerned with this particular yeast's penchant for  stalling out early. I tried rousing the yeast by swirling the carboy and I raised the fermentation temperature towards the end, but the yeast still under attenuated. With the different yeast last year, the beer started at about the same OG (1052) but finished way lower at 1005.  As a result, this is the lowest  alcohol beer we've ever made. I'm not mad about making a 4.3% beer as I've been gravitating towards more drinkable, lower alcohol beers lately, but I would rather plan on making a 4% beer than making one on accident.

Appearance: pours very dark, a thin cream-colored head that seems to be improving the more the keg ages

Aroma: dark malt, some chocolate and a little bit of roast

Taste: sweet, but not under attenuated sweet (which is good considering it finished at 1019); similar to the aroma with a slight touch of chocolate but a lithe more roastiness. Certainly not a dry finish, but again, not as thick as the final gravity would suggest

Overall: this one is decent; not as good as last year's version, but still a easy to drink, sessionable beer. It's hard to give it a good comparison to last year's version considering the final gravities are so different, but as a result, I wont be using this yeast again in the near future. I know a lot of people have good success with that strain, but I haven't had it myself yet. I will definitely make an English Porter again and use WY1318, but I am also wanting to do an American Porter after having a few good examples last month (Sierra Nevada and Cigar City).