
A kegerator.
I knew that I wanted to start kegging beer, but since there can be some considerable up-front costs associated with the equiipment I planned on doing it slowly. I found a way to create an RSS feed from craigslist searching a few basic words: keg, kegerator, co2 tank, and homebrew. I could check on recently added listings on my phone and I planned to just watch for deals and slowly add the necessary equipment when I found very, very, good deals. The second week of doing this I found myself focusing on finding a good deal on a CO2 tank. I was hoping for a 20 lb tank, but would have settled for a 5 lb one. Then I saw a listing for a kegerator for $150 that included the fridge, a keg shell, a keg tap, the beer faucet, a 5 lb CO2 tank AND a 20 lb tank. I picked it up that night and the keg madness was started.

As you can see, the fridge was in pretty decent shape, but I gave it a thorough cleaning and Elise came up with the idea to re-paint the fridge using chalkboard paint and magnetic primer. That way we could write on the fridge what beer was on tap as well as other beer-related info and put cool magnets on the fridge. Added bonus: it looks badass.
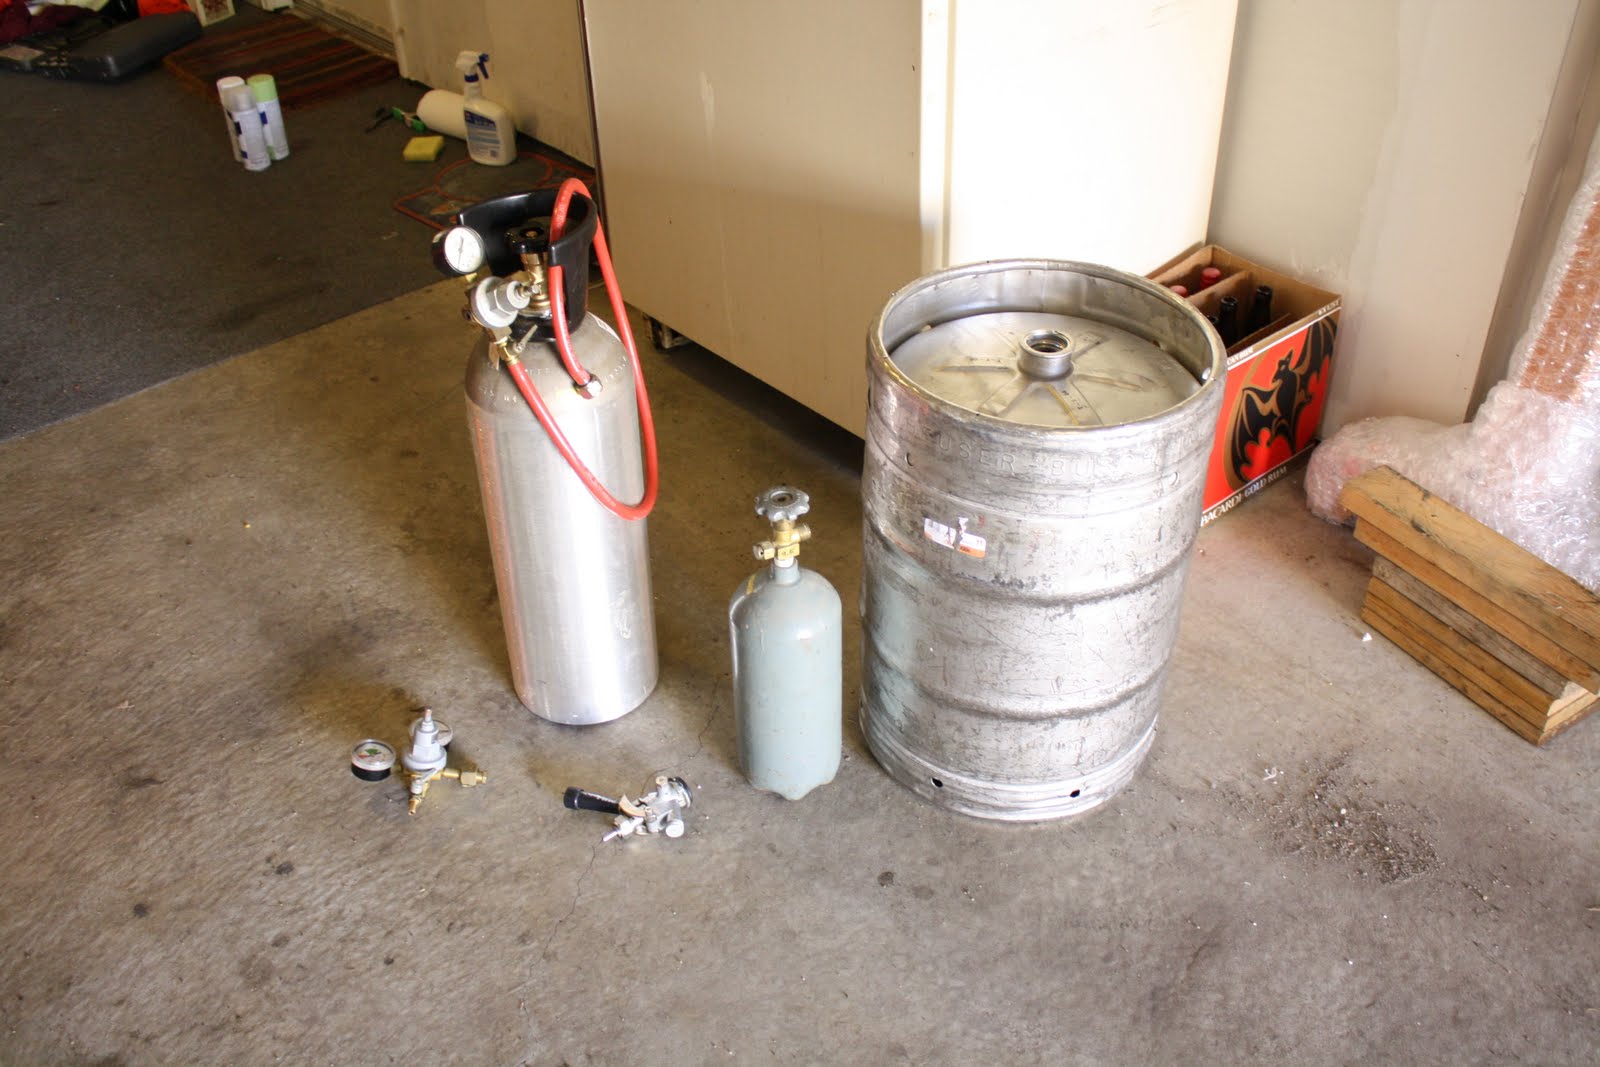
This is a picture of all the stuff that came with the fridge; as you can see the #20 Co2 tank is very, very large and will last us a long time before it needs to be filled. A #5 tank can push 6-8 kegs of beer before needing to be refilled, so a #20 tank should last a very long time. I am going to sell the tap and faucet on Craig's List and hopefully get $60 for both. The tap only works for full-size 15.5 gallon kegs (we will be using 5 gallon kegs) and the faucet is a little dirty even after cleaning with CLR and Bar Keeper's Friend. We'll just get a new faucet with a shorter shank that will fit a little better in the fridge door. As for the shell, I have offered it to my neighbor to use as a boil kettle if he wants it. We would need to use a dremel with a metal cutter attachment to cut a hole in the top and then a step drill to drill a hole in the side for a spigot in order to use it, but for about $40 he could have a 15 gallon kettle (buying one that big would easily cost upwards of $300). If he doesnt want to go that route, I'll again sell it on Craigslist for $40-50. If I'm able to sell everything for $100, I'll basically have gotten a fridge, a regulator, a #5 and a #20 C02 tank for $50! The #5 tanks are going for about $50 on Craigslist, and the #20 are about $80; so we got very very good deal.

After cleaning the fridge, we taped it off using painter's tape and applied 2 coats of the magnetic primer. The primer helps the chalkboard paint stick to the fridge, but also makes sure we can still hang magnets anywhere on the fridge.

We did 2 coats of the chalkboard paint the day after the primer was applied, and then after letting it dry overnight, we had a really good looking kegerator. Elise did some art work on the front and side and I'm sure there will be plenty more to come.


I have no idea why we named it Bertha, it just seemed like an good name for an older, slightly worn, less than beautiful fridge..... 'Ol Bertha
Now, our mission is to find some kegs. I have continued monitoring Craig's List and I think we are going to get 2 kegs to start with. One keg will be on tap, and the other will be a back up for when the first one is emptied. The inaugural draft will be our Black IPA, and possibly the greatest thing kegging is that we can drink it about 1 day after rack it to the keg. We will force carbonate it over night and if it all goes smoothly, we'll be drinking it the next day. The fridge will be able to easily hold the 2 kegs and #20 CO2 tank, but we can likely up to to 3-4 if we store the CO2 tank outside the fridge. This is very common and we would only need to drill a small hole through the side of the fridge to the tank on the outside of the fridge. The more I think about this, the more I want to do it, so I'll just have to figure out how/where to drill the hole for the gas line. We can also easily upgrade to more taps by simply drilling another hole in the front of the fridge. I would guess that within the next 6 months we'll have at least 2 taps on the fridge so we can have a little bit of variety.
I have been reading a lot over the past few days about kegs and how to properly dispense, store, and carbonate the beer. It's pretty interesting as there is a lot that goes on "behind the door" in order to deliver a non-foamy, properly carbonated beer. Things like storage PSI, desired carbonation, fridge temperature, height of tap related to keg, and the length/diameter/type of beverage line. All of these components are used to "balance" the draught system to properly dispense the beer. Hopefully with a little trial and error, we'll have a balanced system that pours a nice beer. Since the keg will be sitting at 38 F, it will also "cold-crash" itself and the beer will be very clear. We can also now consider lagering beers as we can just rack a beer to a keg, purge the oxygen out of the headspace in the keg, and just store it in the fridge until we are ready to drink it.
No comments:
Post a Comment